Fish taxidermy is a meticulous process that involves preserving and displaying fish specimens in a lifelike manner. This step-by-step preservation guide aims to provide an in-depth understanding of the techniques and methods involved in taxidermy.
By following these instructions, one can achieve mastery in the art of fish preservation. From selecting the appropriate fish species to the intricate process of skinning, mounting, sculpting, and detailing the fish’s features, this guide offers comprehensive guidance for those seeking to engage in this intricate art form.
Choosing the Right Fish for Taxidermy
The selection of an appropriate fish species for taxidermy is a crucial step in the preservation process. Different fish species have varying anatomical features, coloring, and patterns that can greatly impact the taxidermy outcome. Certain fish species are more commonly used in taxidermy due to their popularity and aesthetic appeal, such as bass, trout, or salmon. These species often have distinct markings and vibrant colors that make them visually appealing once preserved.
Additionally, the size of the fish should be considered, as larger specimens tend to be more challenging to work with. It is important for taxidermists to have a good understanding of fish anatomy and the specific taxidermy techniques required for each species in order to achieve a lifelike and accurate representation of the fish.
Preparing the Fish for Preservation
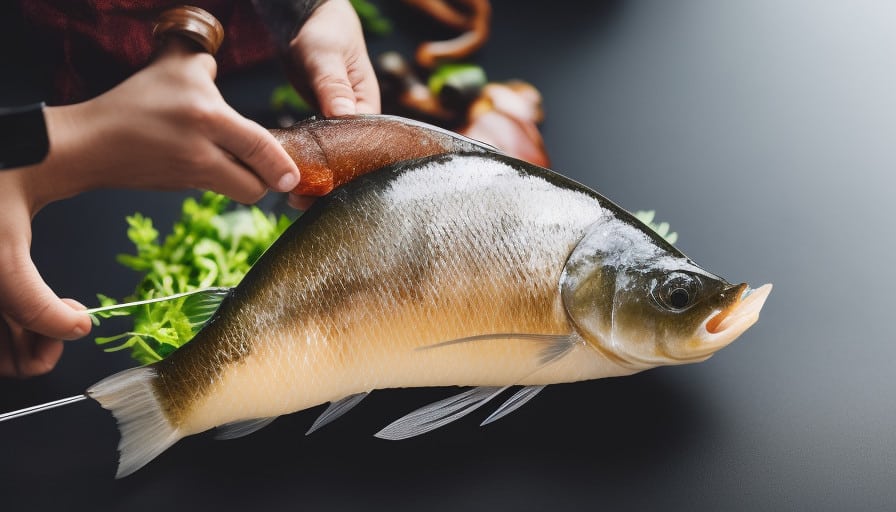
To adequately preserve a fish for taxidermy, the first step involves thoroughly cleaning the specimen to remove any dirt or debris. This is essential as any remaining dirt or debris can lead to decay and deterioration of the fish over time.
To begin the cleaning process, gently rinse the fish under cool running water to remove any loose particles. Next, use a soft brush or sponge and a mild detergent to gently scrub the fish, paying close attention to the areas around the gills, fins, and scales. Take care to avoid excessive scrubbing, as this can damage the delicate skin and scales of the fish. Rinse the fish thoroughly after washing to remove any soap residue.
Once the fish is clean, it is ready for the preservation process.
Skinning and Mounting the Fish
Skinning and mounting a fish involves carefully removing the skin from the specimen and attaching it to a suitable form or manikin for display. Fish preservation techniques require a thorough understanding of fish anatomy and structure. Here are three key steps involved in the process:
-
Preparing the fish:
- Start by cleaning the fish thoroughly and removing any excess scales or slime.
- Make a longitudinal incision along the belly, from the anal vent to the lower jaw.
- Carefully separate the skin from the underlying muscles using a scalpel or knife.
-
Removing the skin:
- Begin by gently peeling the skin away from the muscles, taking care not to tear or damage it.
- Use a skinning tool or your fingers to carefully separate the skin from the body.
- Continue working around the fish until the entire skin has been removed.
-
Mounting the fish:
- Once the skin is removed, it needs to be mounted onto a suitable form or manikin.
- This form is typically made from foam or other materials that can be shaped to mimic the fish’s natural body shape.
- Position the skin onto the form, ensuring it is stretched and secured in place with pins or other fastening methods.
Sculpting and Detailing the Fish’s Features
Sculpting and detailing the fish’s features requires a meticulous approach in order to accurately capture the unique characteristics of the specimen. To achieve a lifelike representation, taxidermists must have a comprehensive understanding of fish anatomy and utilize specific painting techniques.
The sculpting process involves shaping and creating the different parts of the fish, such as the fins, gills, and scales. This requires careful observation and attention to detail, as each species has its own distinct features. Taxidermists often use reference materials, such as photographs or fish replicas, to ensure accuracy.
After sculpting, the fish is painted using specialized techniques to replicate the natural coloration and patterns. This involves layering thin washes of paint to achieve depth and shading, as well as using fine brushes for precise detailing.
Finishing and Displaying Your Taxidermy Fish
Finishing and displaying a taxidermy fish involves applying a protective sealant to preserve the integrity of the mount and selecting an appropriate base or habitat to enhance its visual presentation. To achieve a creative and visually appealing display, consider the following ideas:
-
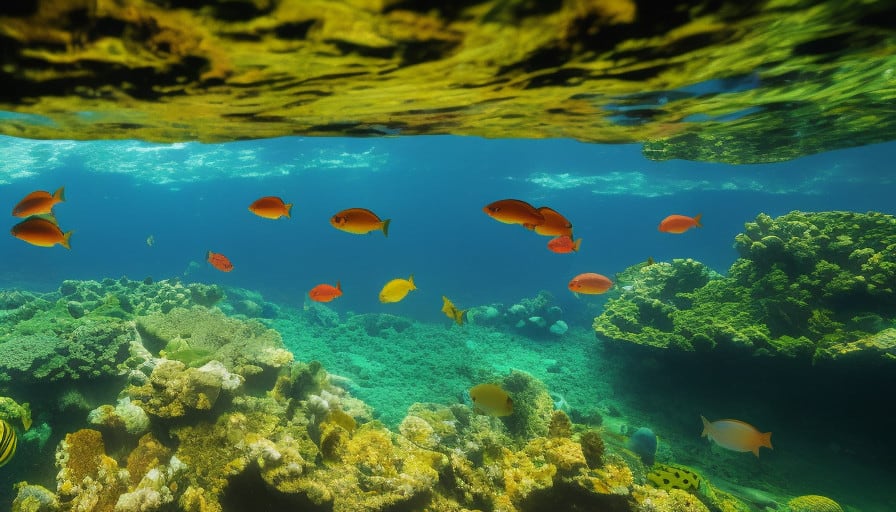
Customized diorama: Create a realistic underwater scene by incorporating elements such as rocks, plants, and artificial corals. This will give the mounted fish a natural and lifelike appearance.
-
Wall-mounted shadow box: Showcase your taxidermy fish by mounting it in a shadow box. This method allows for easy viewing and protects the fish from dust and damage.
-
Floating display: For a unique and eye-catching presentation, mount the fish on a transparent acrylic stand. This gives the illusion of the fish floating in mid-air and adds a contemporary touch to the display.
When it comes to DIY fish mounting techniques, precision is key. Ensure that the fish is securely attached to the base or habitat, and apply the sealant carefully to maintain the natural texture and color of the fish’s scales.
Conclusion
In conclusion, taxidermy is a meticulous process that requires careful attention to detail and a deep understanding of the preservation techniques involved.
By choosing the right fish, preparing it properly, and skillfully skinning and mounting it, one can create a lifelike and visually stunning piece of art.
Sculpting and detailing the fish’s features add an extra level of realism, while finishing and displaying the taxidermy fish give it a final touch.
With patience and practice, anyone can master the art of fish taxidermy and create breathtaking pieces that will stand the test of time.
Leave a Reply